How to Master Meal Planning in 7 Simple Steps

Mastering the art of meal planning will save you tons of time and money! Oh, and most importantly meal planning will save you stress.
Imagine coming home from work to a house of hungry and cranky kids but knowing exactly what you will feed them for dinner. And having the ingredients in the house! It's not a fantasy, I promise.
I'm passionate about sharing how you can quickly set up a system to plan meals that YOU enjoy, to eat on YOUR schedule. This is not about a diet or about complicated menus or what your foodie next door neighbor is eating.
My meal planning system is designed to work for you and your family, no matter what you choose to eat.
I will share with you everything you need to know to set up a simple meal planning binder, and walk you through the simple steps you can take each week to become a meal planning ninja. I use these meal planning printables in my binder, but you can create similar ones using plain notebook paper.
Why is meal planning important?
When you spend just 30 minutes a week to plan meals you will:
have healthy food in the house
breeze through the grocery store with an organized list
know what's for dinner every single night
have healthy snack foods on hand for yourself and your kids
stop the 6pm emergency drive thru habit
feel calm when it's time to pack lunches for the kids
you can easily follow a diet program
Meal planning does not have to be hard, time consuming or boring. I will share exactly how to meal plan so by the end of this post you will be a pro. Grab a cup of coffee (or glass of wine!) and let's dive in....

Step 1 - Create a Meal Planning Binder
To plan meals simply and easily you need a system. The secret weapon is your Meal Planning Binder. This will be your new meal planning BFF, so let's get it set up.
Grab your supplies.
You need just a few supplies:
3 ring binder
notebook paper
a few post-it notes for dividers
pen
You can totally make a great Meal Planning Binder using just these three items that you probably already have around the house. I'd rather you start with a simple, messy book than to wait until you have a beautiful binder.
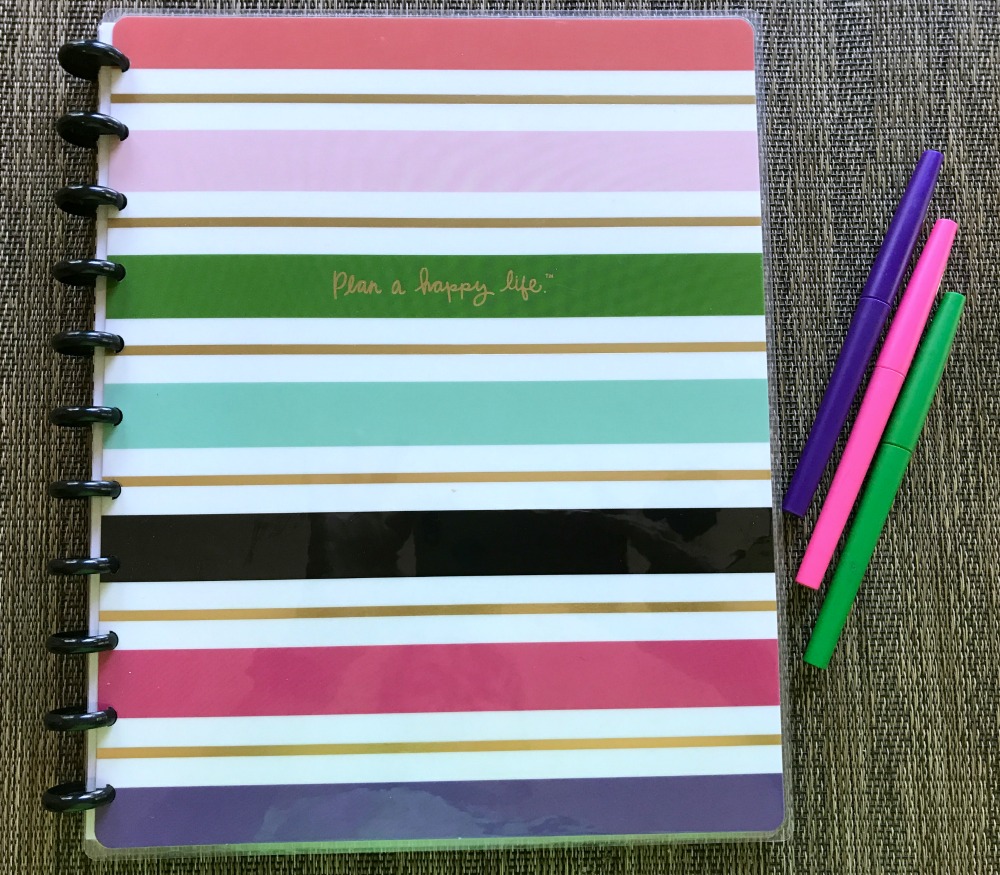
This is my Meal Planning Binder which just has a few additions. I'll post links to the supplies I use but remember, you can make do with notebook paper.
Jacqui's Meal Planning Binder Supplies:
Meal Planning Printables (These are the printable worksheets for all of the steps I'll show you.)
Big Happy Planner disc-bound notebook (I like that I can fold the pages over themselves)
Create sections for your binder.
I use five main sections:
Weekly Meal Plan
Inventories
Favorite Meals
Recipes to Try (get this free printable HERE)
Shopping Lists
You can either use purchased notebook dividers, Post-It Dividers (my favorite), or make DIY tabs using a post-it note.
Simply write the titles of these sections on a piece of notebook paper and then add a tab to the side. So on one sheet of paper write "Weekly Plan." On a sticky note, write "Weekly Plan". Stick that on the sheet of paper to create your divider. Easy?
Your action steps:
Grab your supplies.
Create sections for your binder.
Add the Meal Planning Printables or blank paper to each of the sections
Keep this binder where you will see it in the kitchen.


Step 2 - Take a quick freezer, fridge and pantry inventory.
Now that you have your binder set up, let's get to work.
Did you ever have produce go bad in the fridge because you forgot it was there? Or do you have a freezer piled full of "stuff" but you have no idea what's inside? So you buy more cheese when it's on sale even though you have enough to feed the state of Wisconsin?
One of the best ways to save money (and grocery shopping time) is by using up what you already have on hand. This is the power of doing a quick inventory of your fridge, pantry and freezer.
Don't panic - I'm not talking about listing everything you have in your cupboards. I'm talking about writing down - in your notebook - items that could be components of your meals either this week, or in the future.
How to do a quick & simple inventory.
The freezer is the most critical, so let's start there.
I want you to open the freezer and write down foods that could be used in your upcoming meals. Don't worry about half-eaten packages of waffles, I'm talking about full packs of frozen veggies, a frozen lasagna, packages of cheese, chicken breasts, etc.
Then, move to the fridge. Again, don't worry about things like the almost-empty bottle of ketchup. Rather look at what produce you have that needs to be used up. Have a ton of eggs from a sale last week? A bag of salad mix close to the expiration date?
The same concept applies to your pantry. You don't need to inventory all 30 spices in your cabinet, but list those items that are used frequently or can be a part of your upcoming meals. Rice, pasta, packaged soups, cans of tuna, etc.
Your action steps:
Add the Freezer Inventory, Fridge Inventory and Pantry Inventory printables to your binder. (If you don't have the Meal Planning printables, simply use separate sheets of paper and write "Freezer Inventory," "Fridge Inventory" and "Pantry Inventory". Put these pages in your binder under the "Inventories tab." Using your pen, make 3 columns. The columns are "Items," "Quantity" and "Use By.")
Starting in the freezer, write down items on your list. Fill in the quantity you have on hand.
Optional: Write a "use by" date next to each item.
Repeat with the fridge and pantry.
The inventory lists are a real time and money saver, but I don't want you to stress out about it. Remember, you don't have to inventory every single item in your cupboards! Concentrate on foods that can be part of upcoming meals or staples you use often.
Keep these lists updated.
Now that you have an initial inventory, simply cross off items as you use them, or add items when you purchase from the store. Use the inventories in a way that makes sense to you. For example, if I buy a pack of chicken for a meal this week, I won't put it on my list, just to cross it off in a few days.
[Tweet "Check out this 7 step system to simple meal planning!"]

Step 3 - Brainstorm favorite recipes and meal combinations.
Yay, you are much more organized all ready!! Now let's do something more fun. So take a swig of wine and let's continue.
This is truly the key to my system... identifying your favorite recipes and meal combinations so you don't have to re-create the wheel each time you plan meals. It is super simple, and I want you to have fun with this.
Build a Favorite Meals List.
A Favorite Meals List has space for a recipe name or meal combination, source and ingredients.
It could be as simple as writing "stuffed peppers" or, even better, if you normally serve stuffed peppers with salad and garlic bread, write "stuffed peppers with salad and garlic bread." This doesn't mean you ALWAYS have to serve those items together, but it gives you ideas and simplifies the process.
If you have a list, like this one, of recipes and meals that you and your family enjoy, it makes meal planning a snap! And, when you get the ingredients added (we won't do this today), creating a shopping list is a breeze.
The Favorite Meals list is your secret ingredient to saving time when meal planning.
Constantly add to your Favorite Meals List.
Whenever you think of a good meal combination, add to the list. Your binder is in a convenient location, right?
Adding to the Favorite Meals List is something you can do while watching TV or overseeing the kids doing homework.
Get input from your spouse/partner and family.
If you are cooking for more than one, be sure to get input from your spouse and family. Instead of asking what they like to eat (because you know the answer will be hot dogs and donuts!) ask:
what are your favorite fruits?
what are your favorite veggies - how do you like them cooked?
what are your favorite main dishes?
what new recipe would you like to try?
what is your favorite way I make chicken?
if you could eat anything for breakfast, what would it be?
what restaurant food would you like me to make at home?

Another time saver: the ingredient list.
You'll see on the Favorite Meals example that there is space for the recipe source. This means where you can find the recipe, so it could be Pinterest, a cookbook, website, or wherever. Since most of us are using recipes online, there is no need to print out recipes - simply note where you can find them in the future.
The ingredient list is a HUGE timesaver.
But first a note of caution: Don't feel the need to write down ingredients for all of your Favorite Meals. When starting out, simply fill in the recipe or meal combination and the source, if you need a recipe. When you make a recipe the first time, add the ingredients.
Here is some guidance:
don't write ingredients you commonly have on hand - things like olive oil, salt, common seasonings
only add the quantity if it is important.
don't stress over it. Your ingredients list will be built over time as you make each meal.
Your action steps:
If you have the Meal Planning Printables, simply print several copies of the Favorite Meals worksheet and add to your binder. (If you don't have the Meal Planning printables, simply write "FAVORITE MEALS" on the top of a few sheets of notebook paper. Put these in your binder under the "Favorite Meals" section.
You can categorize Favorite Meals if that makes sense to you. I have separate sheets for poultry, beef, meatless, etc. Categorizing is not necessary. I'd rather you take action and just get those meal combos down!
Start brainstorming your favorite recipes or meal combinations. If using notebook paper, LEAVE SEVERAL BLANK LINES BETWEEN EACH MEAL COMBO, like the worksheet in the picture. (You can add source and ingredients in the future.)
Add the recipe source if you use a recipe.
Add the main ingredients the first time you make a recipe. This will save you tons of time creating your shopping list in the future.
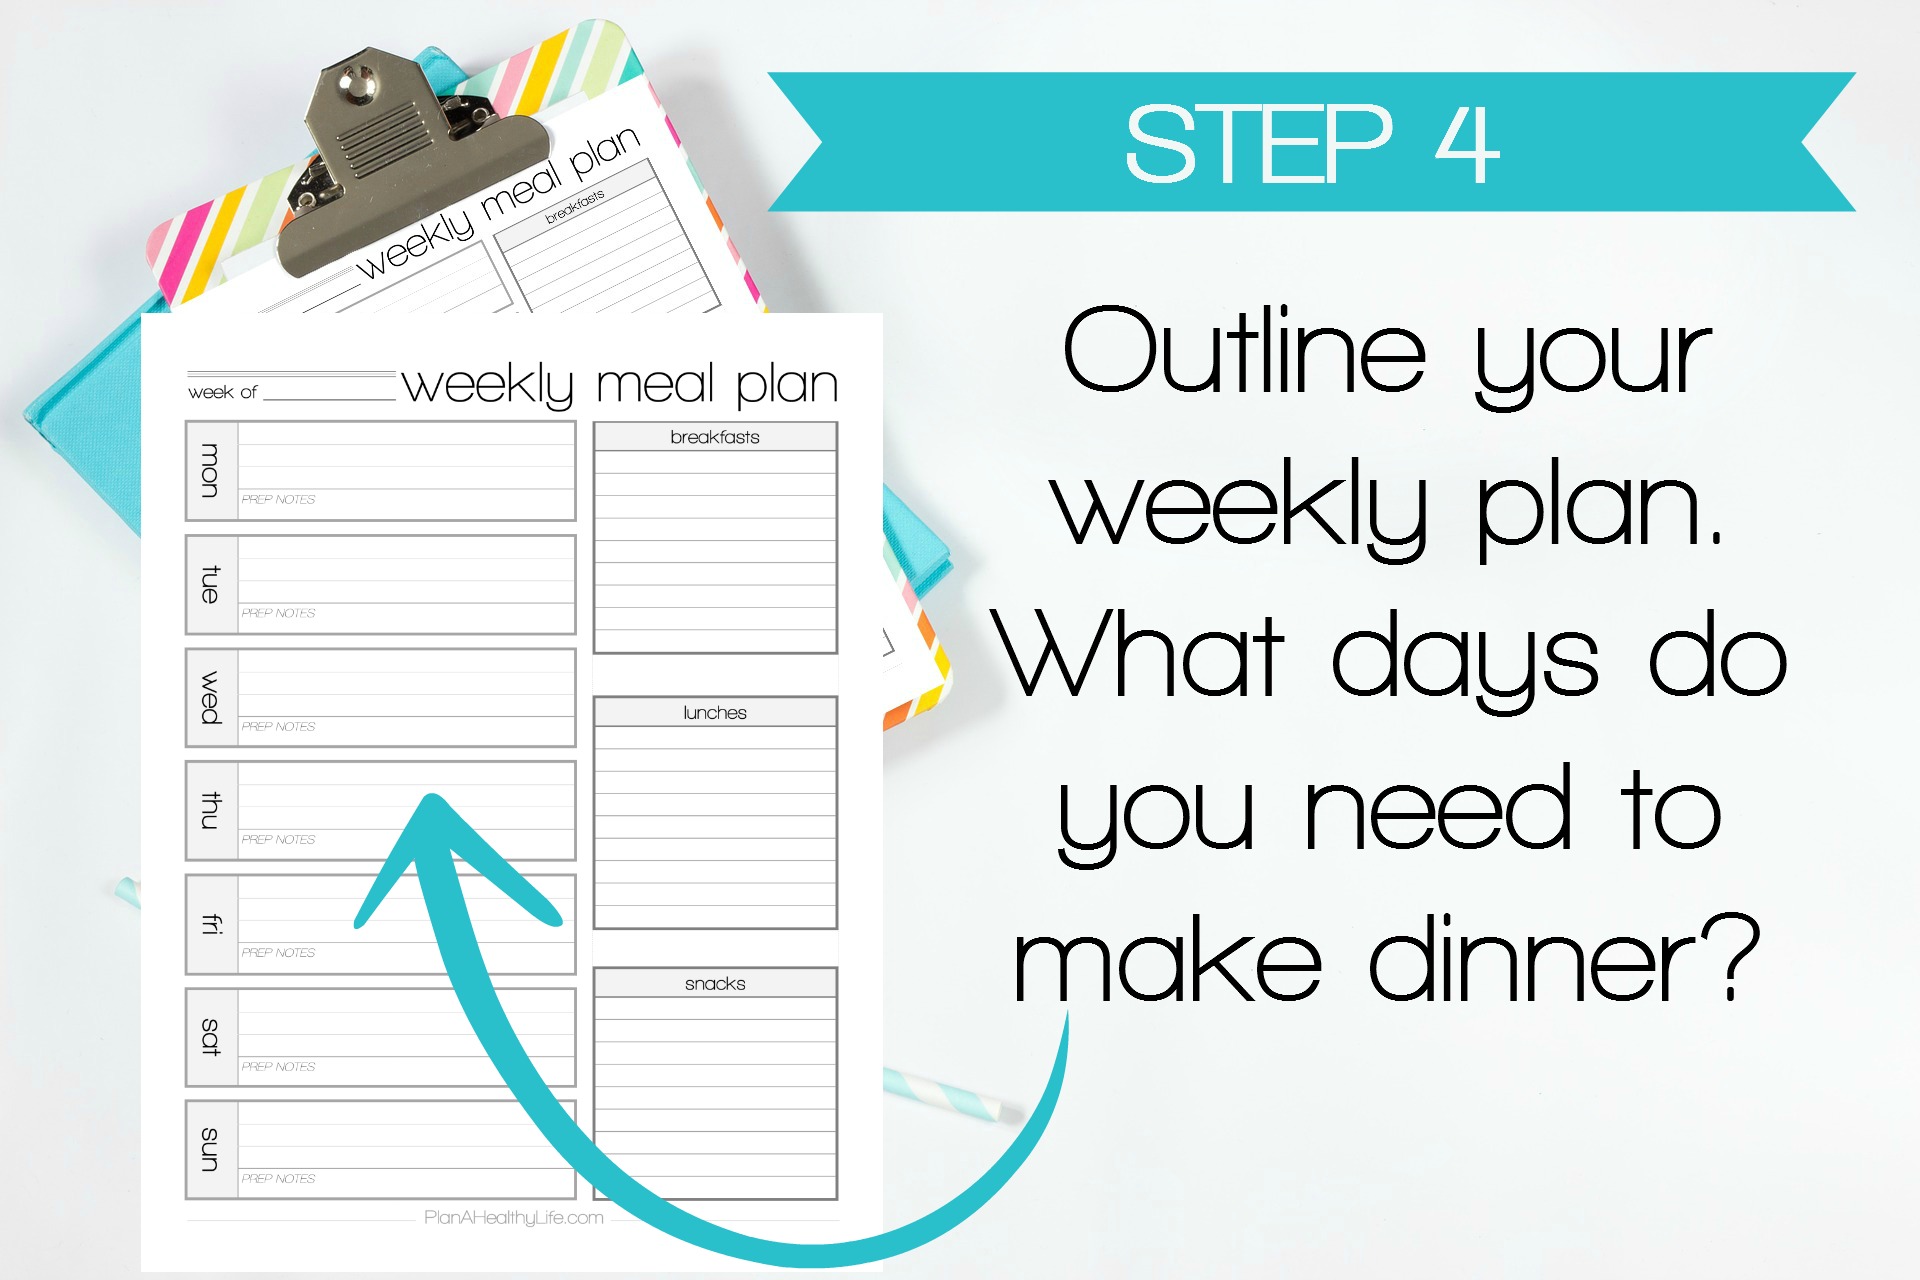
Step 4 - Outline your weekly plan.
Now you have your Meal Planning Binder set up, it's time to get planning.
Grab your Weekly Meal Plan.
If you don't have the meal planning printables, simply take a fresh sheet of paper and write WEEKLY MEAL PLAN on the top. Write the dates for the week ahead.
If you notice my meal planning sheet in the photo above, I have space for dinners Monday through Sunday, and then boxes for breakfast, lunches and snacks. If you aren't using the printables, make a similar set up on your notebook paper.
Take a peek at your calendar.
Are there are any days this week you do NOT need to make dinner? (Date night? Family meal at the in-law's?)
Cross those days off.
Likewise, if you always get takeout on Saturday night (like me!), just write "takeout" on that particular day.
Now you're left with the days you need to plan meals for.
Pro Tip: Make one night (toward the end of the week) "Leftover Night." (This doesn't have to be horrible. Leftover Night is a great night to plan a fun dessert!
Your action steps:
Outline your weekly plan on paper.
Thinking dinner only now, cross off days you don't need to plan for dinner.
Make one night "Leftover Night" and mark that on your paper.

Step 5 - Start filling in dinners and build your shopping list.
Now you know what nights you need to plan for. How the heck do you get ideas??
First, start with your inventory lists.
What meals can you create from items you already have on hand??
Your dinners don't alway need to come from your lists, but it saves so much money (and shopping time) when you use up what you have.
If you have a pack of chicken legs in the freezer, you could make baked chicken legs with olive oil and garlic. Maybe you have rice in the pantry. You could serve the chicken with a side of rice and then just get ingredients for a salad. Better yet, if you have frozen broccoli on hand you have a complete meal!
A general guideline is to plan meals using fresh seafood or produce early in the week, and meals using pantry or frozen items later in the week.
Second, scan your local grocery store flyers.
You can take advantage of sales as well as local fresh produce when you take a peek at your local store's weekly sales ads.
Pro tip: If something is on sale dirt cheap, consider buying enough for two meals. Cook both at once and freeze one for later. (Don't forget to add it to your Freezer Inventory!)
Third, take a peek at your Favorite Meals lists.
Use those meal ideas as inspiration when creating your menu.
Build your Shopping List at the same time.
Either use a Shopping List from the Meal Planning printables set, or a blank sheet of paper to jot down ingredients as you add recipes to your meal plan.
Your action steps:
Start building meals, first using your inventory lists.
Remember your "Favorite Meals" list? Use that for inspiration to create or fill in meals.
Jot items on your Shopping List as you add them to the meal plan.

Step 6 - Add a few breakfast, lunch and snack options.
Now it's time to round out your meal plan with breakfast, lunch and snacks.
But first I want to share my best tip to keep things simple...
Come up with 2-3 breakfast, lunch and snack ideas and rotate them throughout the week.
Who needs to eat bacon & eggs on Monday, oatmeal with fresh berries Tuesday, an omelet Wednesday, bagel & cream cheese Thursday, protein pancakes on Friday, toast and poached eggs on Saturday and waffles on Sunday???
Planning lots of different meals for breakfast, lunch and snacks is a huge time and money waster. Think of how much more streamlined your shopping list would be if you just choose from oatmeal with berries, eggs & bacon, or waffles??
You obviously can do what makes you happy, but I recommend choosing two to three meal ideas for lunch, breakast and snacks and just rotating them.
Don't assign breakfasts, lunches and snacks to specific days of the week.
You will notice on the Weekly Meal Plan that I don't assign breakfasts, lunches and snacks to a specific day of the week. This gives you flexibility to eat what you want, when you want it.
Pro Tip: I eat leftovers for lunch quite a bit. This is a great time-saving option.
Finalize your Shopping List.
Once all your meals are planned, this is the time to fill in anything else you need on your Shopping List. Items like toothpaste, paper towels, etc.
Your action steps:
Using your Weekly Meal Plan (and possibly your Favorite Meals List), start filling in the Breakfasts, Lunches and Snacks section.
Just like with dinners, I tend to look at my Inventory Lists first to see what I have on hand. Bagels in the freezer? Bagels will definitely go on my breakfast list.
If you come up with a combination you think you'll love, add it to the Favorite Meals List.
Add any other items you need to your Shopping List.
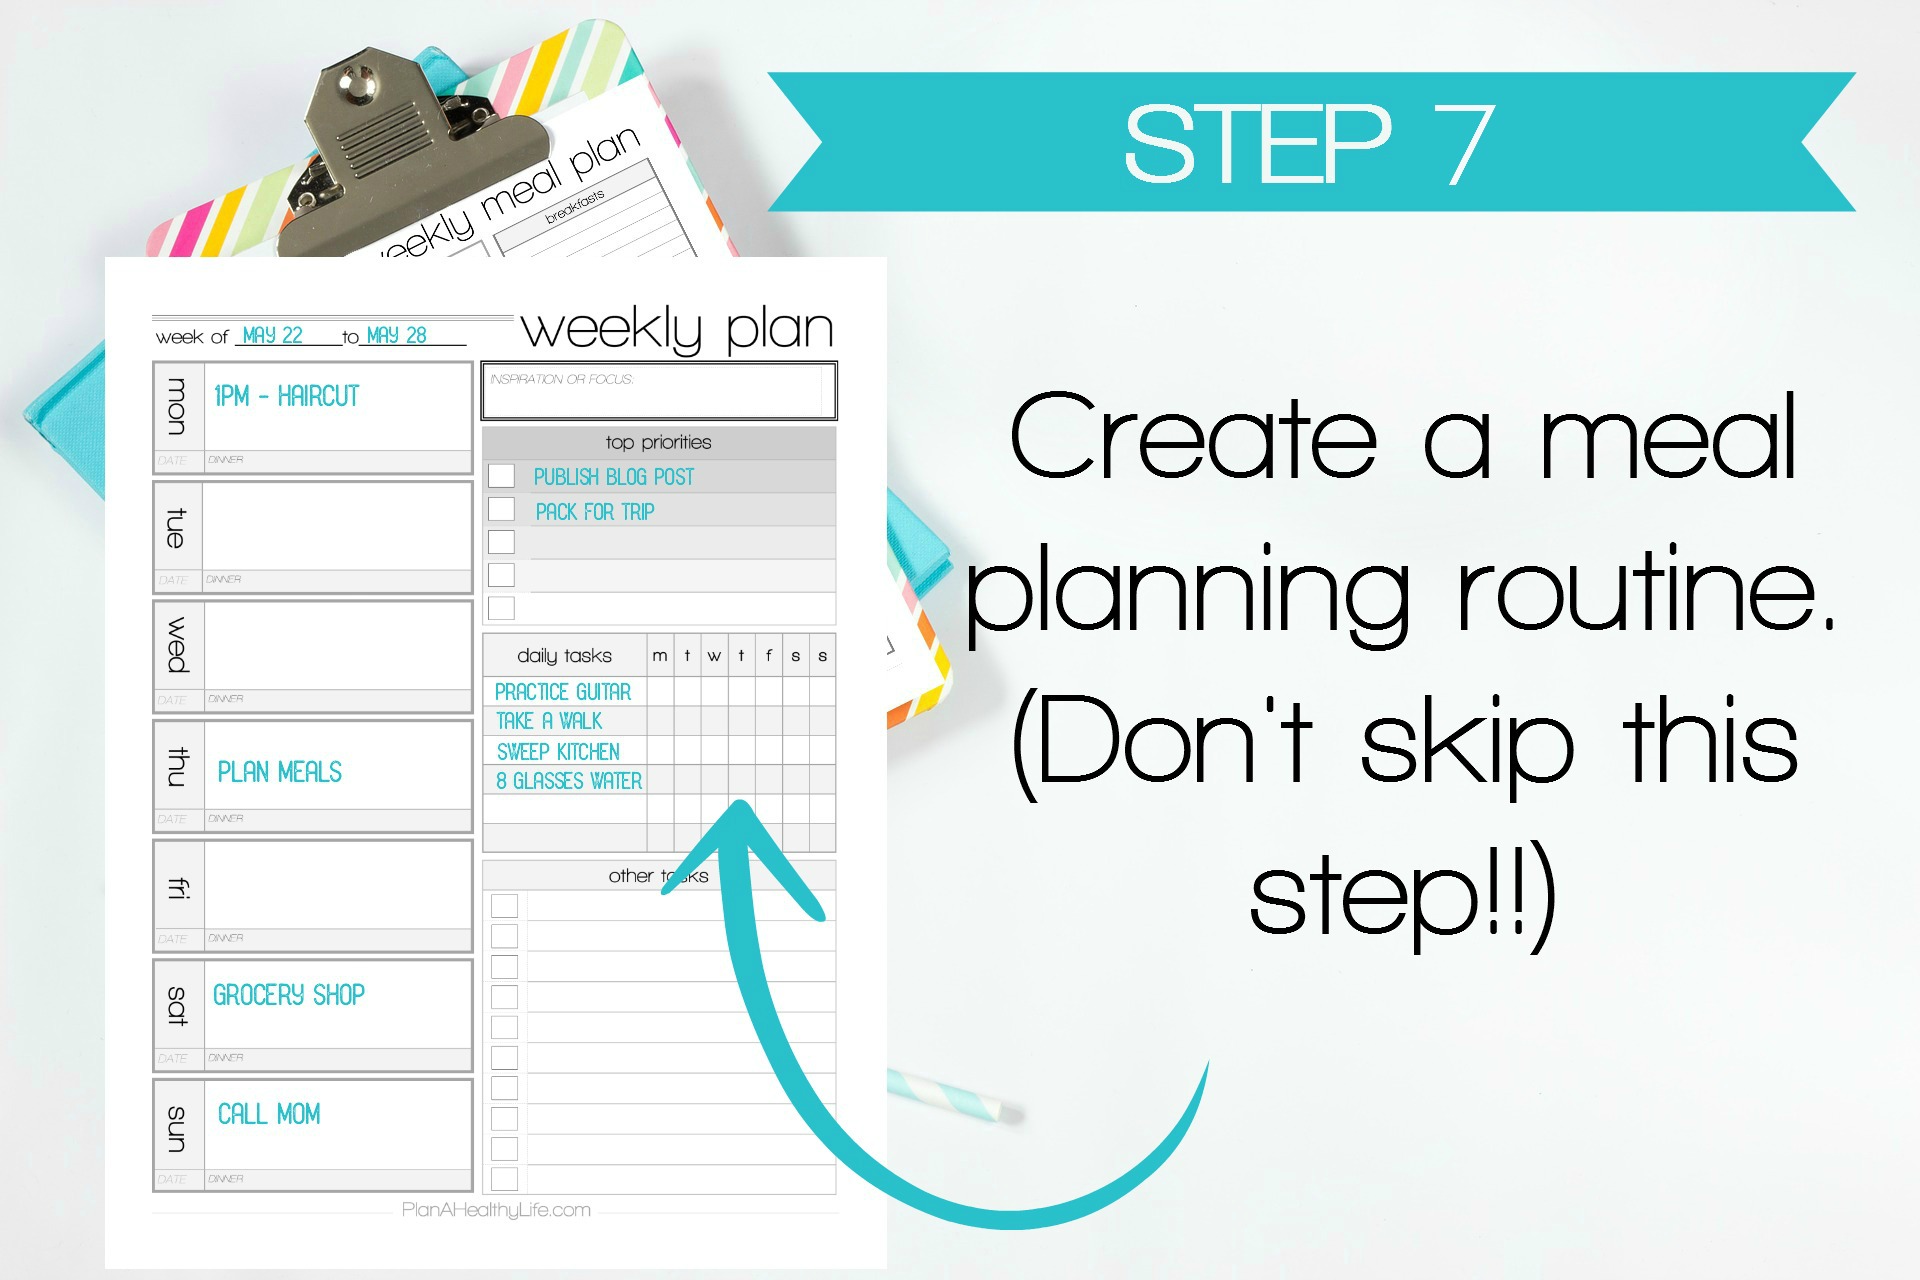
Step 7 - Create a meal planning routine.
You are ALMOST DONE!!! Now you have the basic steps down to creating a simple meal plan each week. But if you don't have a system in place this will be a one-time occurrence. Let's take some time to create a meal planning routine.
Your action steps:
Set one day a week as your meal planning day. Set a reminder on your phone.
What will be your grocery shopping day? Set a reminder on your phone.
These are the tasks for your weekly meal planning session:
update your inventory lists
quickly brainstorm more Favorite Meal ideas
outline your weekly plan - what days do you need to plan for?
start building your dinners (starting with items you have on hand)
create a shopping list at the same time
finalize dinners
add breakfasts, lunches & snacks
finalize shopping list
immediately schedule your next meal planning day and shopping day
Keep your Meal Planning Binder where you can see it. Always be adding to your Favorite Meals or Recipes to Try List.
SAVE your past meal plans. You can use these for inspiration in the future!!
Rinse and repeat.
Your weekly meal plan should be flexible.
I want you to understand that your Meal Plan is a flexible tool. It is designed to make your life easier and you have total control over that plan. If you have tacos on the menu for Tuesday and on Tuesday morning you are in the mood for spaghetti which is scheduled for Thursday, just swap them.
It is ok to change up your meal plan.

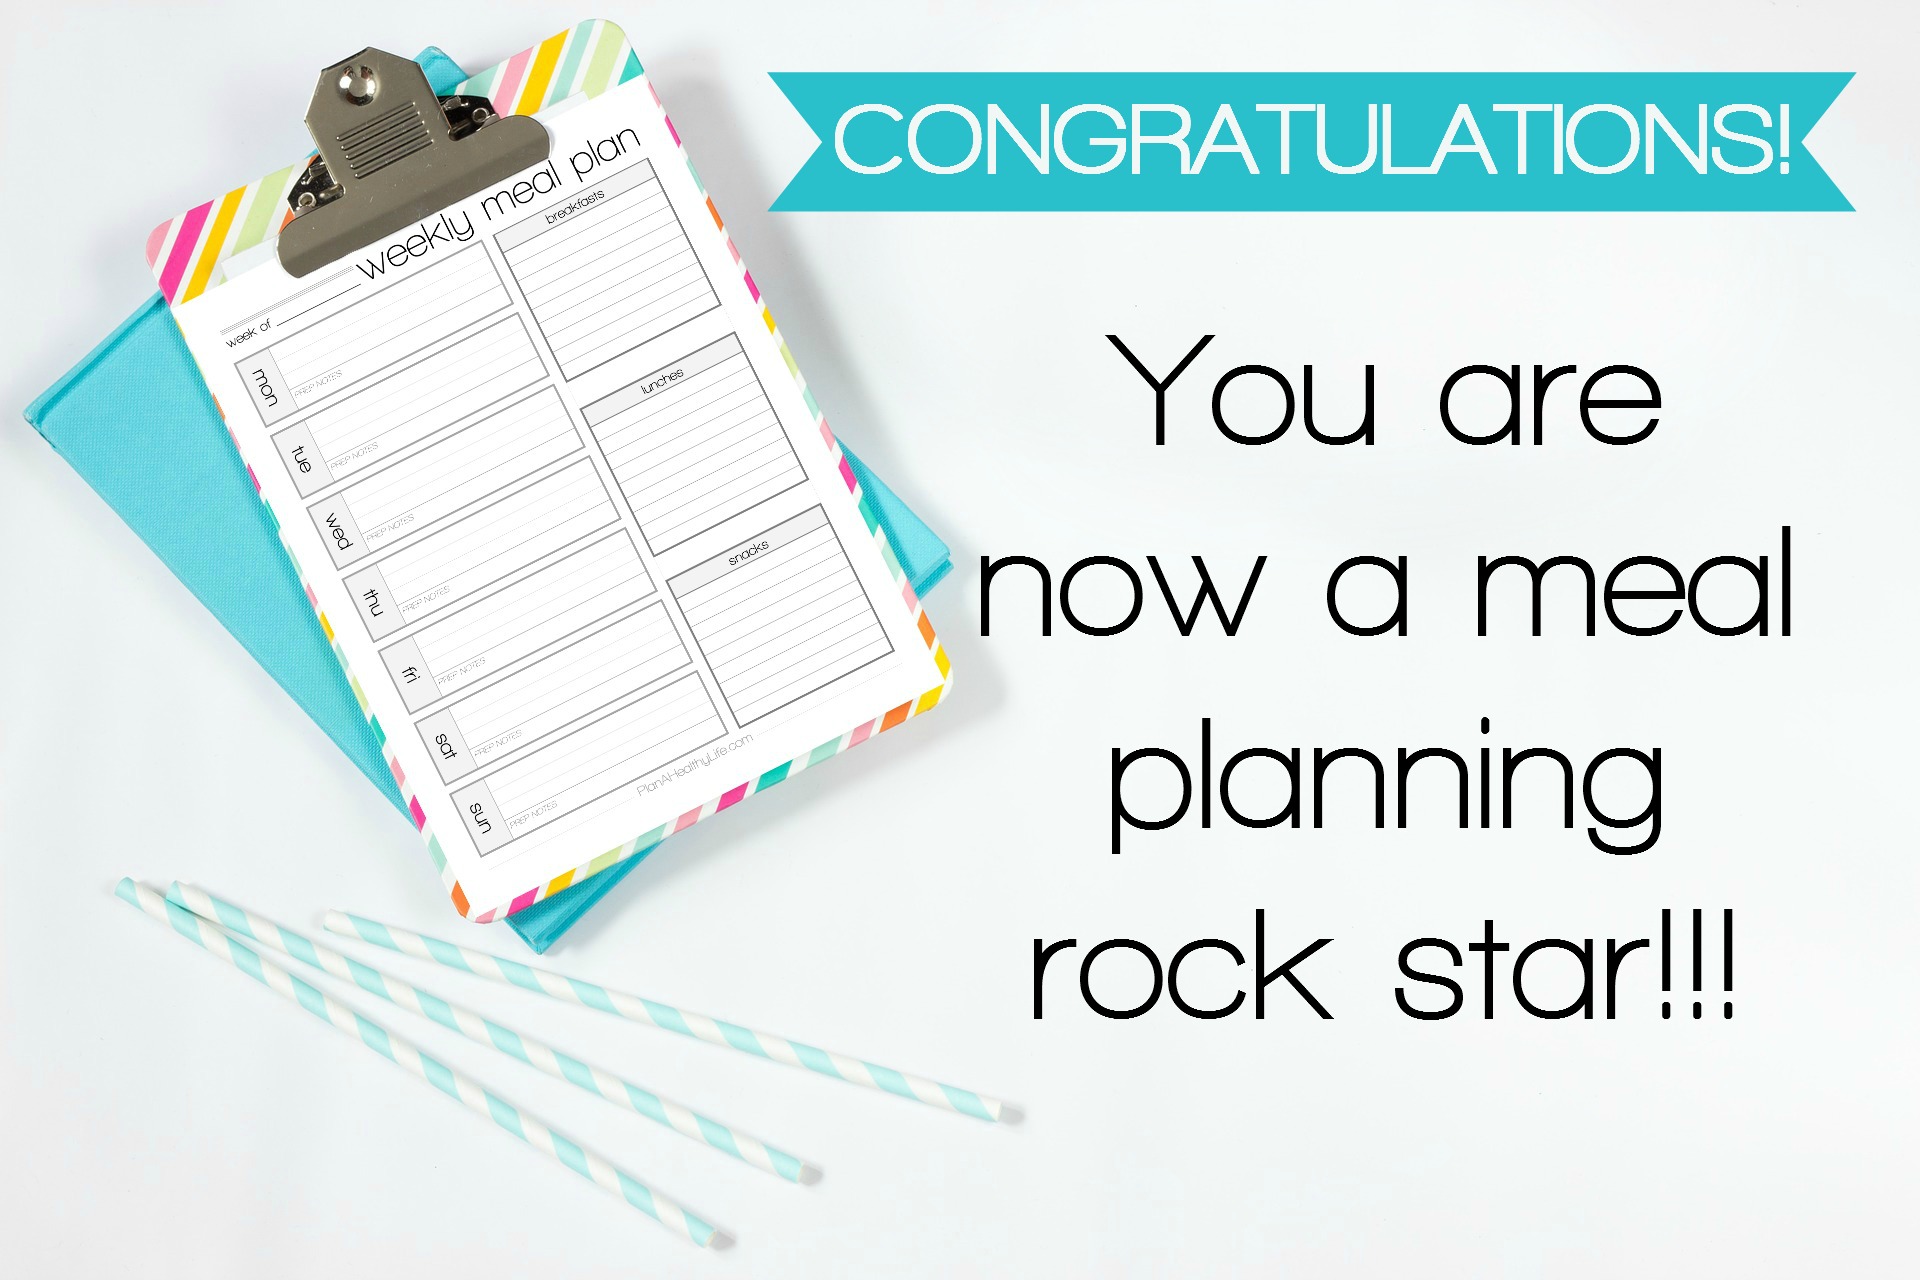
It's time to take action.
Now that you know the exact steps to take to plan your meals each week, it's time to take action. You are going to save tons of time, money and stress, but you do need to get started.
Find an old notebook (or create a fun, pretty one) and set up your Meal Planning Binder. Then, mark your calendar for your first meal planning session. If you want to make things super simple, pick up my meal planning printables. The PDF printable set not only has all the worksheets I outlined in this post, but it also has these instructions in a printable format.
You can purchase the printables from my planner shop by clicking the link below!
Happy meal planning!
We are a participant in the Amazon Services LLC Associates Program, an affiliate advertising program designed to provide a means for us to earn fees by linking to Amazon.com and affiliated sites.
Be sure to PIN this post so you can find it in the future!